
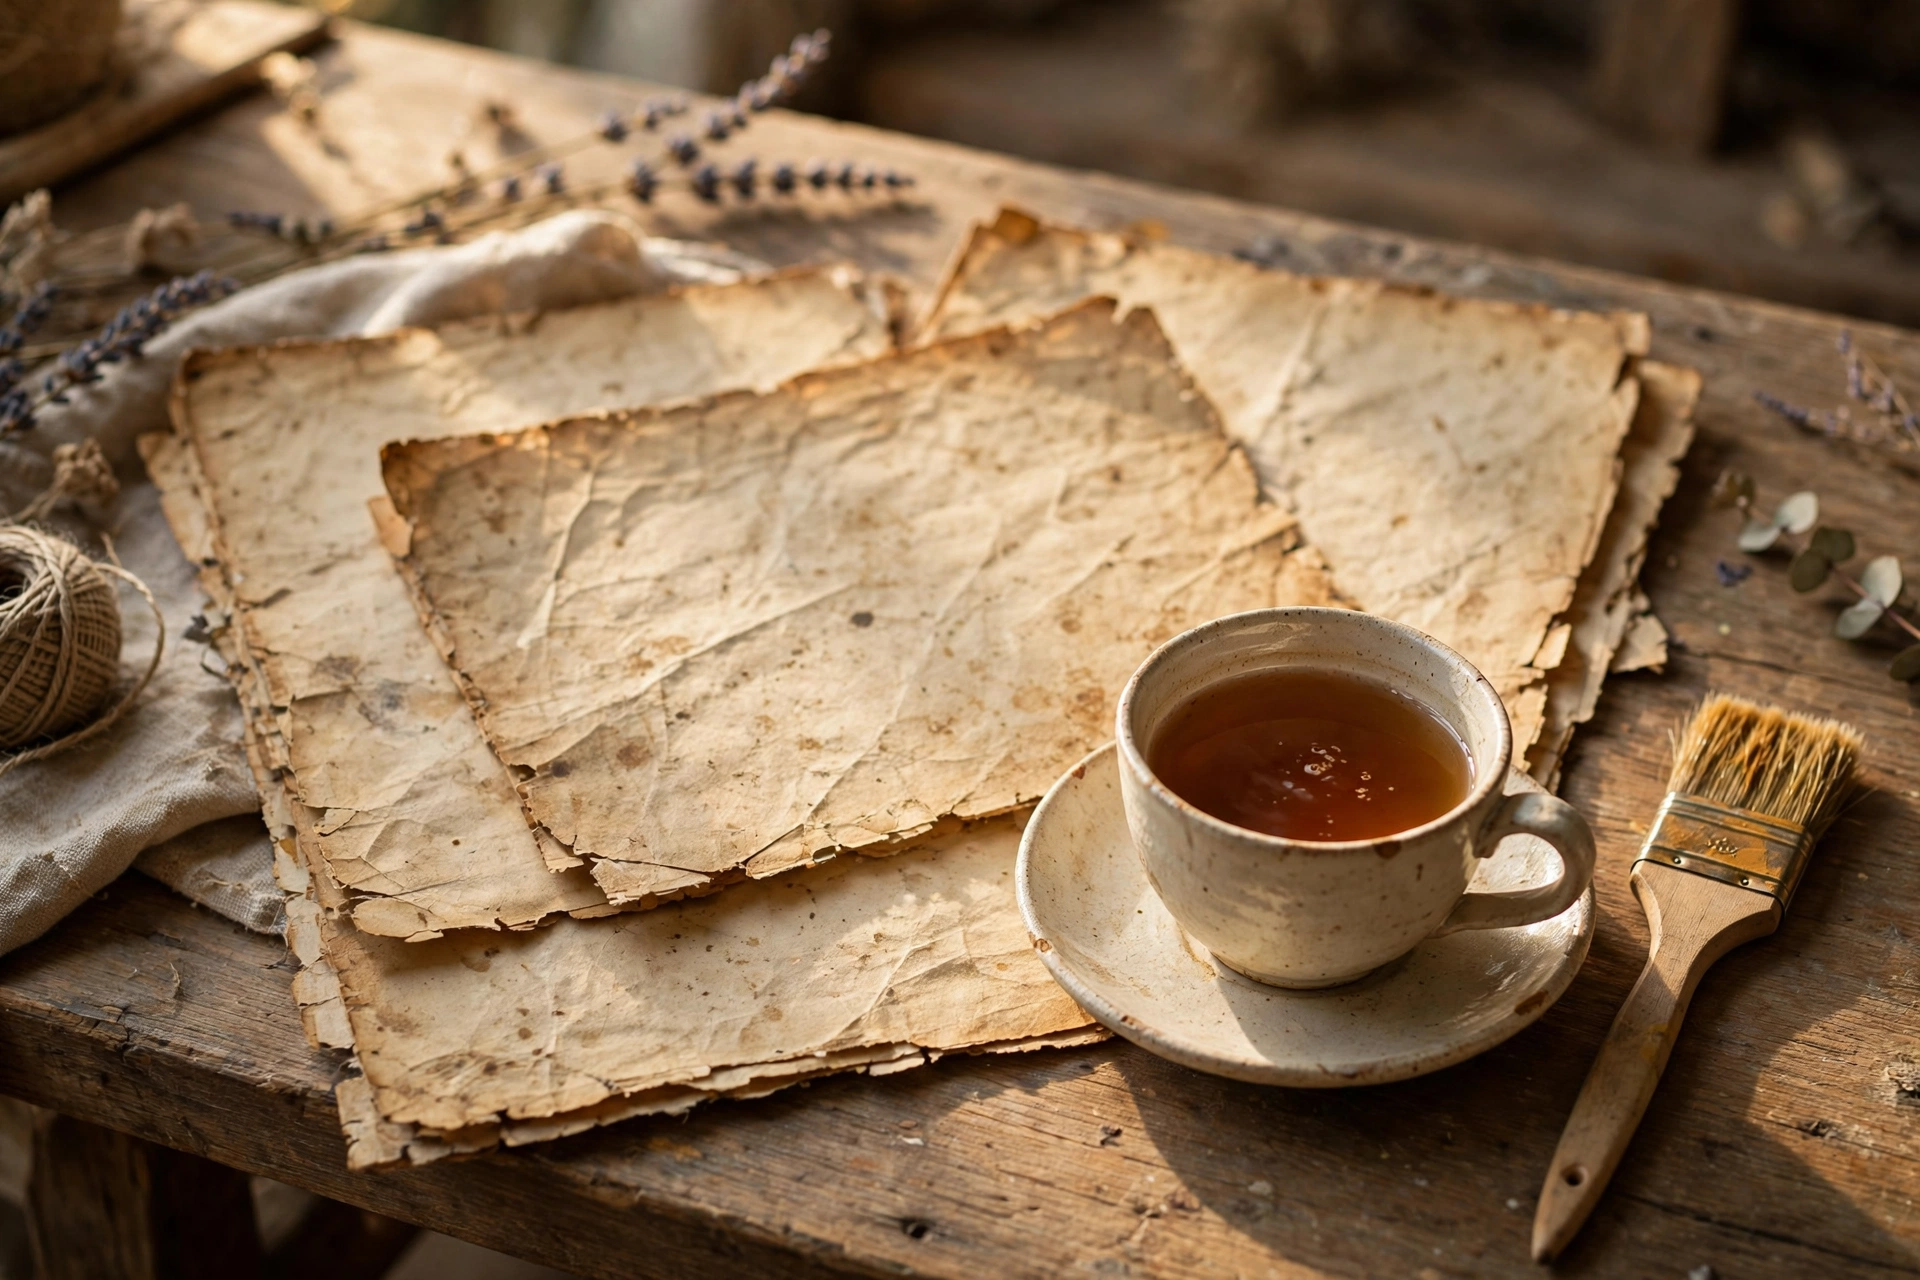
Old paper has a look that new paper cannot fake with colour alone: warm, uneven tones, soft creases, slightly darkened edges, and a texture that suggests years of handling. The good news is that you can create a convincing version at home with tea, coffee, heat, and a little patience. The methods are simple, but the difference between a believable vintage sheet and a soggy brown mess is testing first, working gently, and knowing when to stop.
The short answer: The easiest reliable method is tea staining: brew strong black tea, let it cool, brush or soak plain paper in it, and dry it flat or in a low oven. Coffee gives a deeper, warmer brown. Crumpling before staining adds creases that catch the stain unevenly, baking deepens the colour, and careful edge distressing — tearing, sanding, or very careful singeing — adds wear. Always test on a scrap sheet first, work on a protected surface, and keep the result for decorative crafts, not for documents that need to look genuine.
What you need
Gather plain white paper — printer paper works, heavier cardstock is sturdier and tears less — black tea bags or instant coffee, a shallow tray or baking sheet, a sponge or soft brush, towels, and optionally fine sandpaper and a candle or lighter for edge work. Work on a surface you do not mind staining, wear an old shirt, and keep water nearby if you plan any flame work. Thinner papers stain faster but tear easily when wet, so cardstock is a safer first choice, and a scrap test sheet is essential: different papers absorb very differently, and the test tells you the soak time and colour before you risk your real sheet.
Tea staining, step by step
Brew a strong batch of tea: two to four black tea bags in a couple of cups of hot water, steeped until dark, then cooled completely. Hot liquid can warp paper unevenly and is harder to handle, so cooling matters. Pour the tea into a shallow tray. Prepare the paper first if you want texture: lightly crumple the sheet into a ball and flatten it again. The creases will absorb more stain and create the uneven, mottled look of real ageing. Tear the edges by hand before wetting if you want worn edges, because clean white borders are the clearest sign of a new sheet. Now stain. For an even, light tone, brush the tea over both sides with a sponge or brush. For a deeper tone, lay the sheet flat in the tray and soak it for a short time — half a minute to a few minutes, depending on your test sheet. Longer is darker, but over-soaking weakens the paper and makes it tear when lifted. Lift the sheet carefully, supporting it horizontally so it does not tear under its own wet weight, and lay it flat on towels or a drying rack to blot excess liquid. For extra mottling, dab the wet sheet with a tea bag, sprinkle a few loose tea leaves onto it, or let small puddles dry in place: they dry into darker, organic-looking spots. Let the sheet dry fully, away from direct sunlight if you want an even tone, or in sunlight if you want extra natural discolouration. The colour deepens slightly as it dries and over the following day, so judge the result when dry, not when wet.
Coffee staining for deeper tones
Coffee gives a warmer, deeper brown than tea, because it carries more tannin and a richer colour. The method is the same: brew double-strength coffee or dissolve instant coffee in hot water, cool it, and brush or soak. Coffee staining suits treasure maps, vintage letters, and props that need a darker, older look. As with tea, test first: coffee darkens quickly, and a sheet that looks right when wet can dry darker than intended.
Baking and heat
Heat deepens colour and dries the sheet faster. Lay the stained sheet flat on a baking tray and bake it in a low oven — around 90 to 100 degrees Celsius — for five to ten minutes, watching it constantly. Edges curl and brown first, which is part of the effect, but paper can scorch quickly, so never leave it unattended and never use a high temperature. A hairdryer on a low setting is a gentler alternative that gives you control over which areas darken most. Once dry and cool, flatten the sheet by pressing it under a stack of books for a day, or with a low-heat iron through a protective sheet of plain paper. This removes curl and gives the sheet a flatter, more finished feel.
Distressing edges and texture
Edge work is what sells the illusion, but it is also where projects are ruined, so work slowly. Tearing edges by hand gives a soft, fibrous edge that looks naturally worn. Fine sandpaper rubbed lightly along edges and folds thins the paper and creates pale, worn patches. A candle flame run very carefully along an edge, over a sink, with water at hand, can singe a dramatic dark border — but it is easy to burn too much, and it should never be attempted near curtains, loose paper, or children, and never on a sheet you cannot afford to lose. For most projects, tearing and sanding are enough, and they carry no fire risk. Other touches add realism in small doses: a drop of wax, a faint ink blot, or a coffee ring left to dry. One or two such details look authentic; ten look staged. Restraint is the most professional choice in distressing.
When not to age paper
Aged paper is for decorative crafts: journals, scrapbooks, invitations, treasure maps, party props, and theatre sets. It is not for documents that need to be genuine, archival, or legally reliable. Staining is irreversible, it weakens fibres, and aged paper absorbs moisture faster, so it is unsuitable for anything that must last or be trusted as original. Never use ageing techniques to make a modern document appear to be an old or official one: that is deception, not craft, and this guide does not cover it.
Troubleshooting
If the sheet tears, the paper was too thin, soaked too long, or lifted without support. Next time, use cardstock, shorten the soak, and lift horizontally. If the colour is patchy in a bad way, the sheet was probably dried unevenly or the tea was applied in pools; brush more evenly, or embrace light mottling as part of the look. If the sheet curls badly, press it under books for longer, or iron it gently through plain paper. If it looks too perfect, crumple it lightly, sand the edges, and add one darker stain patch: real old paper is never uniform.
FAQs
What is the easiest way to make paper look old?
Tea staining. Brew strong black tea, cool it, brush or briefly soak plain paper, and dry it flat. Test on scrap paper first to find the right soak time for your paper.
Is tea or coffee better for ageing paper?
Tea gives a lighter, warmer amber tone and is the safest for beginners. Coffee gives a deeper, warmer brown and suits darker, older-looking props. Both work; test both on scraps and choose the tone your project needs.
Can I use an oven to age paper?
Yes, at a low temperature, around 90 to 100 degrees Celsius, for five to ten minutes, watching constantly. Paper scorches quickly, so never leave it unattended and never use high heat.
How do I keep aged paper flat?
Press it under a stack of books for a day once fully dry, or iron it gently through a sheet of plain paper. Storing it flat, rather than rolled, keeps it flat afterwards.
Bottom line
Making paper look old is a craft of restraint: strong tea or coffee, a short soak, gentle crumpling, low heat, and light edge distressing, all tested on scrap paper first. Done slowly, a plain white sheet becomes a convincing vintage page for a journal, a prop, or a handmade invitation. Done hastily, it becomes a soggy, scorched mess. Test, work gently, stop early, and let the imperfections — the uneven tone, the soft creases, the worn edges — do the work that perfection cannot.
Related reading: soft skills meaning; Career & Skills; Crafts & DIY
Sources: HowStuffWorks guide to staining paper with tea bags; Glowtechy guide to ageing paper