
Sewing looks complicated from the outside — a machine full of dials, patterns full of symbols, and finished garments that seem impossibly neat. From the inside, it is a sequence of small, learnable skills: threading a needle, making a straight line of stitches, joining two pieces of fabric, and finishing an edge. Every sewer started with crooked stitches. The ones who kept going started with the right first projects, not with the most ambitious ones.
The short answer: Start sewing by gathering a small basic kit, learning a few hand stitches, practising straight lines on scrap fabric, and then sewing a simple project such as a pillowcase or tote bag. Choose stable, medium-weight cotton for your first fabric, work slowly, and press your seams as you go. A machine is helpful but not required at the start: hand sewing teaches the stitches, and a borrowed machine teaches the rest when you are ready.
The basic kit: less than you think
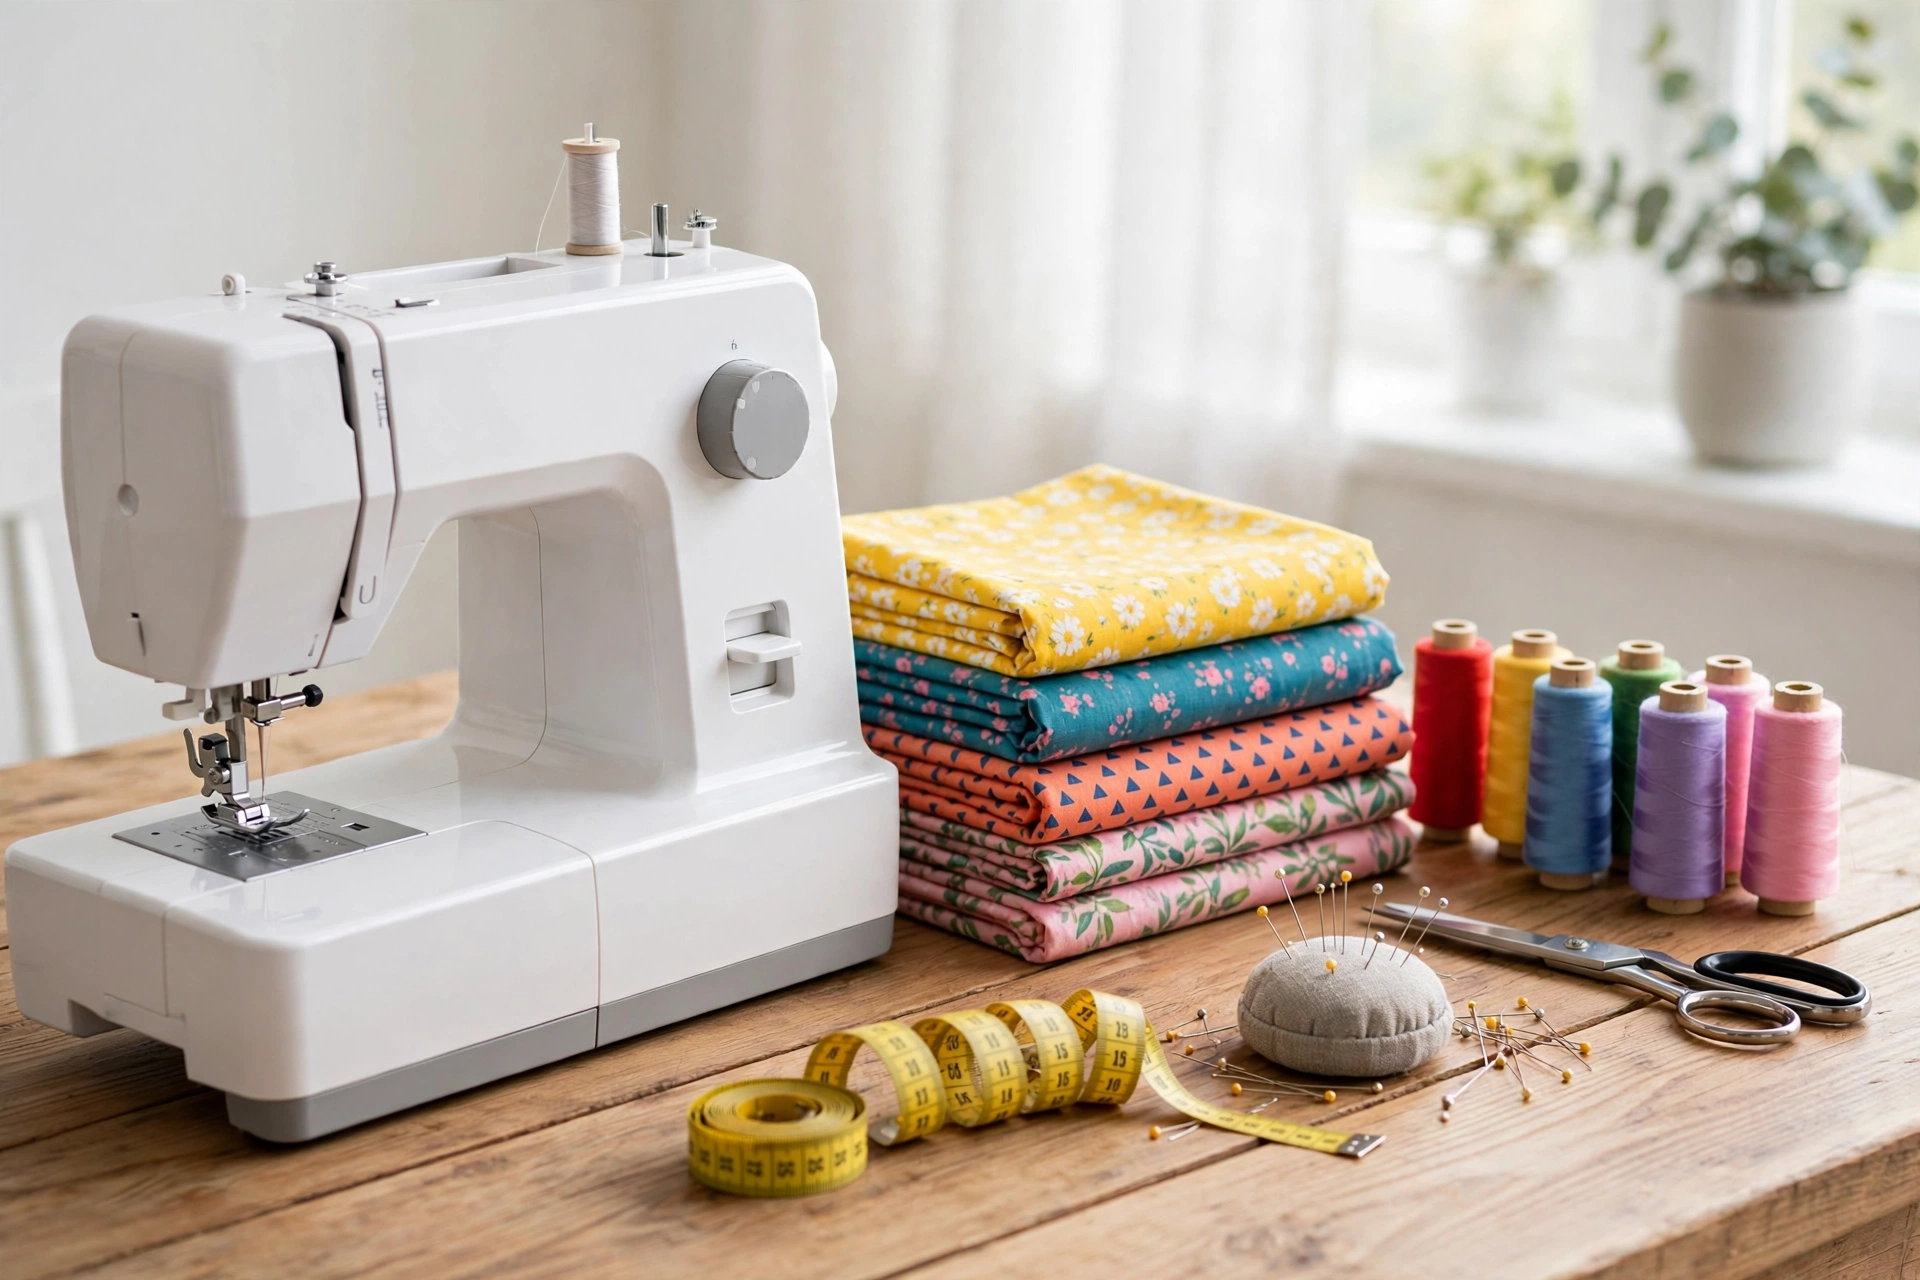
You do not need a craft room to start. A workable beginner kit fits in a small box: needles (sharps for hand sewing), all-purpose thread in a neutral colour, sharp fabric scissors that are used only for fabric, pins and a pincushion, a measuring tape, a seam ripper, and an iron or access to one. If you sew by machine, add a basic mechanical machine, its manual, and a few bobbins. That is enough for your first several projects. Two kit rules save frustration. First, keep fabric scissors for fabric only: cutting paper dulls them quickly, and dull scissors chew fabric instead of cutting it. Second, buy decent thread and needles rather than the cheapest set: poor thread tangles and breaks, and a blunt needle makes every stitch harder than it needs to be. Quality basics matter more than a large collection.
Hand stitches first
Before touching a machine, learn five hand stitches. They cover mending, hemming, and finishing work you will use forever, even after you own a machine. The running stitch is the simplest: the needle goes in and out at even intervals, making a dashed line. The backstitch is stronger: each stitch goes back to the end of the previous one, making a continuous line suitable for seams. The whip stitch wraps over an edge to neaten it. The blanket stitch finishes raw edges decoratively. The slip stitch, or ladder stitch, closes openings invisibly — the stitch that makes a hand-sewn pillow look machine-finished. Practise each stitch on scrap fabric, aiming for even length and spacing rather than speed. Even stitches come from rhythm, not force: keep the fabric flat, pull the thread through fully but gently, and do not tug so hard that the fabric puckers. Ten minutes of practise on scraps teaches more than an hour of struggling on a real project.
Choosing your first fabric
Fabric choice decides whether a first project feels easy or impossible. Skip silk, chiffon, stretch knits, and velvet at the start: they slip, stretch, or fray, and they punish small mistakes. Instead, choose stable, medium-weight cotton — quilting cotton is ideal — or muslin for test runs, or felt for small projects that do not fray at all. Prewash your fabric before cutting, because cotton shrinks, and press it flat: wrinkled fabric measures wrong, and wrong measurements are the most common beginner error. When you buy fabric, buy a little extra. Beginners cut wrong, and a spare piece turns a mistake into a second attempt rather than a ruined project. Keep the offcuts: they are your practise pieces for the next stitch.
Machine basics, without fear
If you have a machine, spend your first session on the manual, not on a project. Learn to wind a bobbin, thread the machine in order, and set a straight stitch. Then practise on scrap fabric: straight lines, gentle curves, corners, and reverse stitching at the start and end of a seam to lock it. Guide the fabric gently and let the machine feed it; pushing or pulling creates uneven stitches and broken needles. Common early problems have simple causes. Tangled thread underneath usually means the machine is not threaded correctly — rethread it fully, with the presser foot up. Skipped stitches often mean a dull or wrong needle. Puckering usually means the thread tension is too tight or the fabric is being pulled. When something goes wrong, stop, unpick calmly with the seam ripper, and try again on scrap before returning to the project. Unpicking is not failure; it is part of sewing.
Reading a pattern, slowly
Commercial patterns look intimidating because they compress a great deal of information into symbols: notches that show where pieces match, grainlines that show which way the fabric should run, and seam allowances — the distance between the stitching line and the fabric edge, commonly a set fraction of an inch or a centimetre. Read the pattern instructions fully before cutting anything, and mark the symbols on your fabric with chalk or a washable marker. For a first project, choose a pattern with few pieces, clear instructions, and no zips, buttons, or fitted shaping. A pillowcase, a tote bag, a simple skirt, or a scrunchie all qualify. Cut accurately and patiently. Lay the fabric flat, pin the pattern pieces in place, and cut smoothly without lifting the fabric. Accuracy at cutting saves far more time than speed at sewing: pieces that match go together easily, and pieces that do not match fight you at every seam.
Your first projects, in order
Start with a straight seam on scrap fabric, then a hem: fold an edge over twice, press it, and stitch it down. Next, sew a simple pillowcase or a drawstring bag: straight seams, a hem, and a finished item you can actually use. Then try a tote bag, which adds handles and a lining and teaches you to sew through layers. Each project adds one new skill, and each finished item builds the confidence for the next one. Jumping straight to a fitted dress is the most common beginner mistake, and it is almost always the project that ends up abandoned in a drawer. Press as you go. Pressing each seam open or to one side with an iron, after sewing it and before sewing the next piece, is the single habit that most separates neat sewing from homemade-looking sewing. It takes seconds, and it transforms the final result.
Mistakes are the curriculum
Every beginner sews crooked lines, breaks thread, sews a piece on backwards, and unpicks a seam. None of this means you cannot sew. Keep your seam ripper close, keep your expectations modest for the first few projects, and keep the finished items even when they are imperfect: they are the record of what you have learned. Sew slowly and steadily, test settings on scrap fabric first, and pin before sewing — skipping pinning to save time is the shortcut that most often costs time.
FAQs
Do I need a sewing machine to start sewing?
No. Hand sewing teaches the core stitches and is enough for mending, hems, and simple projects. A machine speeds up longer seams, and borrowing one first is a sensible way to find out whether you enjoy machine sewing before buying.
What is the easiest first sewing project?
A pillowcase or a simple tote bag. Both use straight seams, beginner-friendly cotton, and skills you will reuse: cutting, seaming, hemming, and pressing.
What fabric should beginners avoid?
Slippery, stretchy, or very thin fabrics such as silk, chiffon, and stretch knits. They slip under the needle, stretch out of shape, and fray easily. Stable cotton is far more forgiving.
Why does my thread keep tangling?
Usually the machine is threaded incorrectly, the thread is poor quality, or the fabric is being pushed rather than guided. Rethread fully with the presser foot up, try a fresh needle and good thread, and practise on scrap fabric.
Bottom line
Starting sewing means starting small: a basic kit, five hand stitches, stable cotton, and a simple first project sewn slowly and pressed as you go. Each finished item, however imperfect, teaches the next skill. Keep the seam ripper handy, keep the projects simple, and let confidence grow from finished work rather than from waiting until you feel ready.
Related reading: how does dry cleaning work; how to remove oil stains from clothes; Clothing Care
Sources: Treasurie beginner guide to sewing; Sew Your Soul beginner guide to sewing basics