
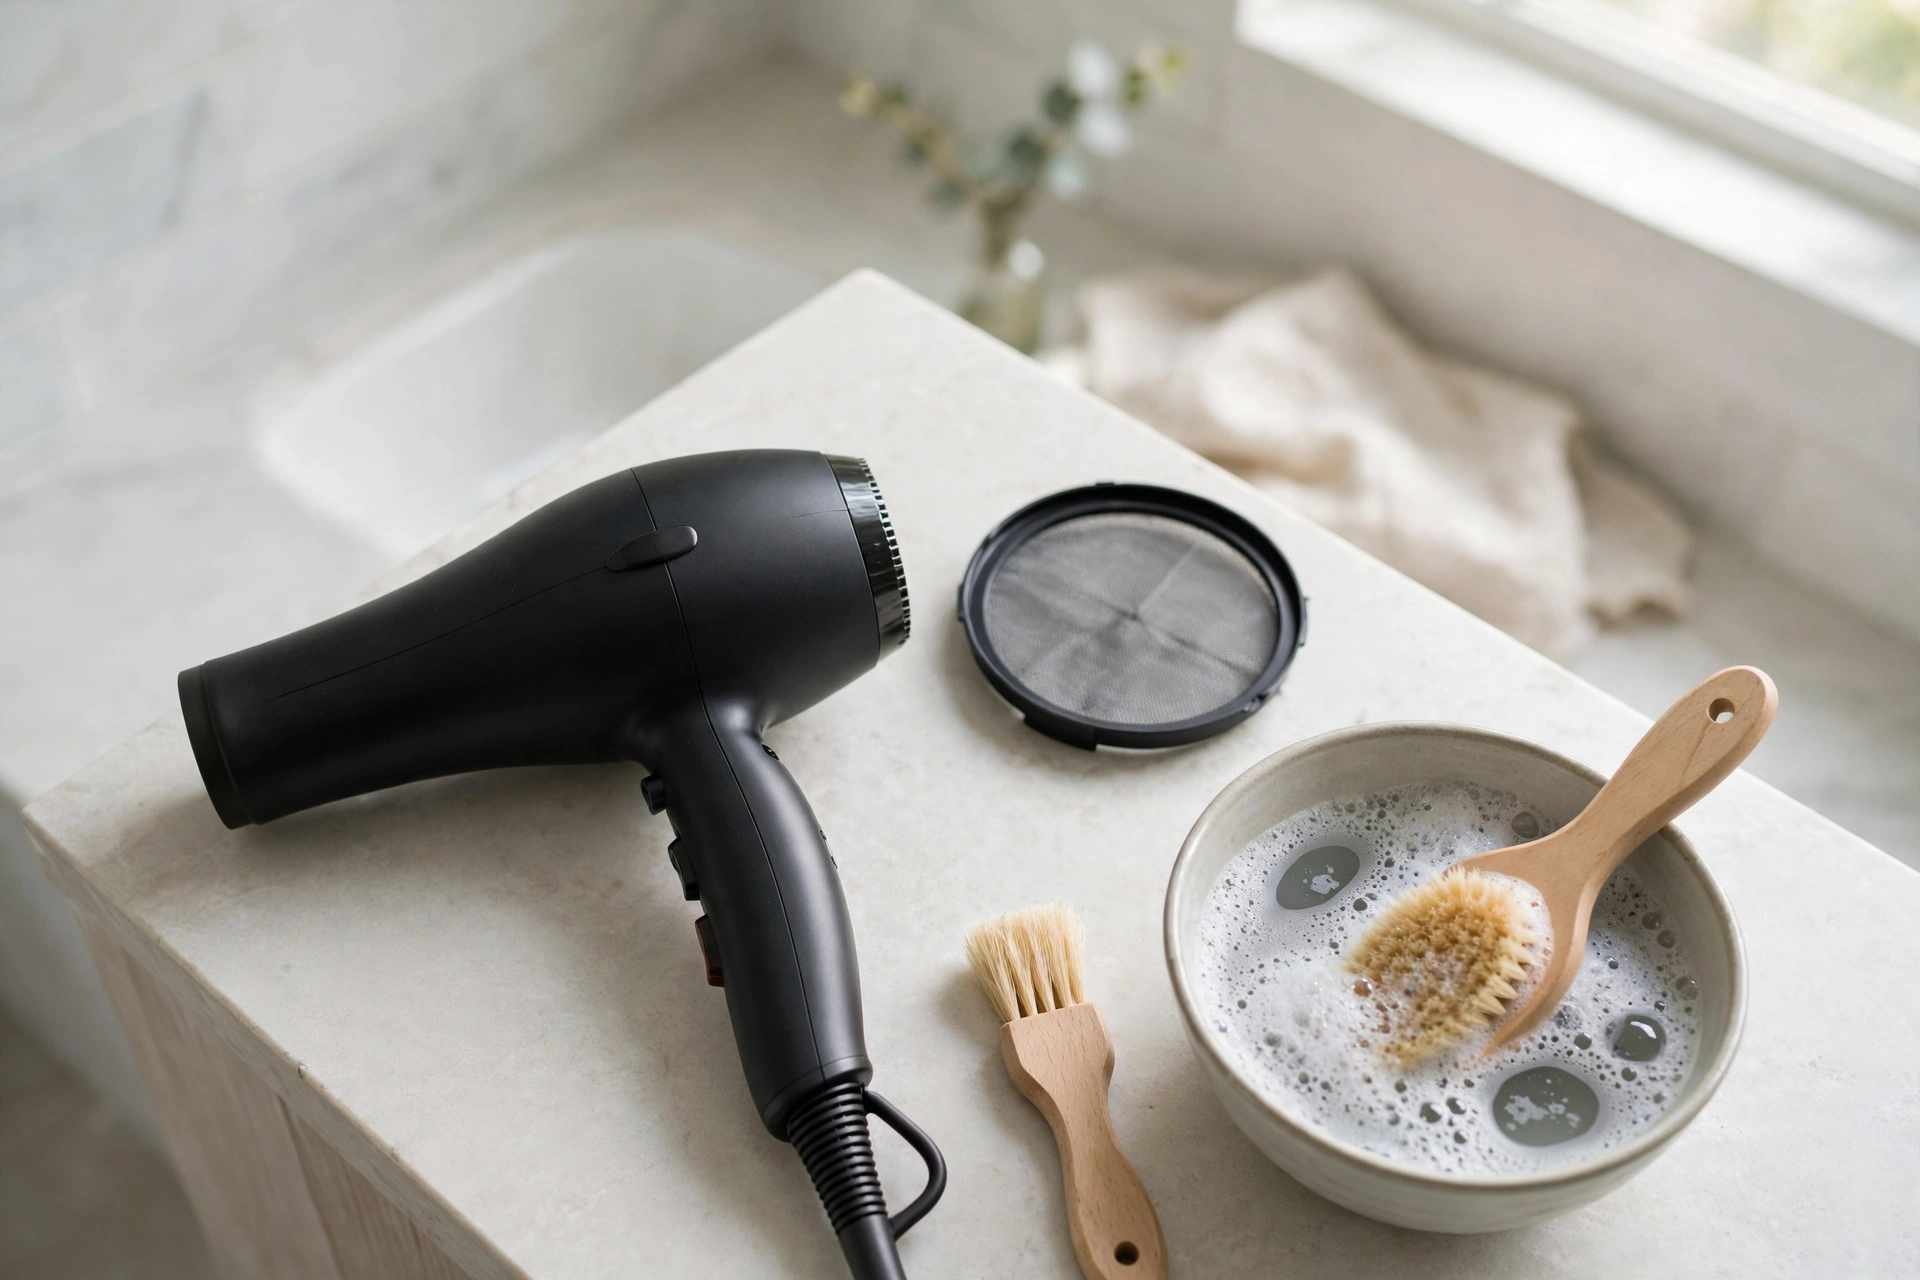
A hair dryer that feels weaker than it used to, runs hotter than normal, or smells faintly of burning dust often has one simple problem: a clogged filter. The filter sits at the air intake, usually at the back of the dryer, and its job is to stop hair, lint, and styling-product residue from reaching the motor. When it clogs, air cannot get through, the motor works harder, and the dryer can overheat. Cleaning it takes a few minutes, and it is one of the easiest ways to make a dryer last longer.
The short answer is this: switch the dryer off, unplug it, and let it cool completely. Remove the filter cover as your manual describes, brush off loose dust and hair, wash the removable filter parts only if the manual allows washing, and let everything dry fully before you put it back. Never run the dryer without its filter in place, and never let water into the motor housing.
Find the filter first
On most dryers, the filter is a mesh screen at the rear, behind a cap or cage that twists, slides, or clips off. Some dryers have a fine mesh disc, others have a two-part filter with a cage and an inner fabric or mesh layer. A few premium dryers use a magnetic cage that pulls straight off. If your dryer has no obvious removable cap, check the manual before forcing anything: some budget models have a fixed intake grille that is only meant to be brushed from the outside, not removed.
Knowing which type you have matters, because the cleaning method follows from it. A removable mesh cage can usually be washed. A fixed grille, a foam insert, and a fabric filter may need only brushing, or a very gentle wash followed by thorough drying. When in doubt, follow the manual for your exact model rather than a generic video for a different dryer.
What you need
You do not need special tools. A soft toothbrush or a small cleaning brush, a lint-free cloth, a bowl of warm water, and a little mild dish soap will cover most jobs. A pair of tweezers can help lift out trapped hair, and a dry towel is useful for blotting. Avoid harsh chemicals, bleach, and abrasive pads, which can damage mesh and coatings. Keep everything away from the dryer body itself: the motor and heating element are not meant to get wet.
Step 1: Switch off, unplug, and cool down
Always unplug the dryer before cleaning the intake, and wait until it is completely cool. This is a safety rule, not a suggestion: you will be working close to the electrical parts, and a hot dryer can burn you. Working on a cool, unplugged dryer also stops the motor from sucking loose dust further inside while you brush.
Step 2: Remove the filter cover
Remove the cover exactly as the manual shows — twist, slide, or unclip it gently. Do not pry a stuck cover with a screwdriver, and do not pull on the power cord to free it. If the cover will not move, stop and check the manual again; some covers release only in one direction, and forcing them can crack the housing. Set the cover and filter parts on a clean surface so you can see what you are dealing with.
Step 3: Brush off loose dust and hair
Start dry. Tap the filter gently over a bin to shake out loose lint, then brush the mesh with a soft toothbrush, working from both sides if you can reach them. Use tweezers for hair wound around the edge of the cage. This dry step alone often restores most of the airflow, and it is the only step some fixed filters need. A quick brush every couple of weeks, in a home with daily use, prevents the heavy build-up that later needs washing.
Step 4: Wash only the parts the manual allows
If your manual allows washing, soak the removable cage or mesh in warm water with a little mild dish soap for about 30 minutes, then scrub gently with the soft brush. Rinse under clean running water until the water runs clear. For fabric filter layers, a tiny amount of gentle shampoo or dish soap, lightly worked in by hand and rinsed well, is the usual approach on models that allow it. If your manual says not to use water on the filter, skip this step entirely and stick to brushing and wiping.
Never soak the dryer itself, never spray cleaner into the intake, and never wash a filter that is glued to an electrical part. Water left in the intake can damage the motor and create a safety risk the next time the dryer is switched on.
Step 5: Dry completely before refitting
This step is where most mistakes happen. Shake off excess water, blot the filter with a clean towel, and then air-dry it fully — ideally for several hours, or overnight if you washed it. Hold the mesh up to the light: you should be able to see light through it evenly. If parts still look blocked, brush and rinse again. Do not use the dryer to dry its own filter, and do not refit a damp filter. A damp filter traps new dust faster, can smell musty when heated, and can let moisture reach parts that should stay dry.
Step 6: Refit and test
Clip or twist the cover back on until it sits flush and secure, with no gaps around the edge. Plug the dryer in and run it briefly on a cool or low setting. Airflow should feel strong and even, and the dryer should not smell of hot dust. If airflow is still weak, check that the filter is seated correctly and that no hair is trapped under the cover rim. If the dryer still overheats, cuts out, or smells of burning after a clean filter, stop using it and have it checked — the problem may be inside the motor, not the filter.
How often should you clean it?
For everyday home use, a quick brush every two to four weeks and a wash when the manual allows it, about once a month, is a sensible routine. Clean it more often if you use styling products heavily, share the dryer, or use it in a salon-like setting, where product residue clogs filters much faster. Some dryers warn you themselves: flashing lights, a drop in airflow, or the dryer cutting out from heat are all signs to clean the filter now, not at the next routine clean.
Signs your filter needs attention
Watch for weaker airflow, longer drying times, a hotter-than-usual body, a dusty or burning smell, or the dryer switching itself off mid-use. Any of these can mean the intake is blocked. A filter that looks grey, felted, or matted with product residue is overdue for a clean even if the dryer still seems to work. Catching it early is cheaper than replacing a burnt-out motor.
What not to do
Do not run the dryer without the filter, even for a quick test: unfiltered air pulls hair and dust straight into the motor. Do not poke sharp objects through the mesh to clear it, do not use compressed air at close range into the intake, and do not ignore a cracked or torn filter — replace it through the maker if you can. A damaged filter protects nothing, and a dryer used without proper filtration will clog again quickly, this time inside the machine.
FAQs
Can I wash every hair dryer filter?
No. Wash only removable parts that your manual says can be washed. Fixed grilles and some fabric filters are brush-only. When the manual is silent, brush and wipe, and do not soak.
How long does a filter take to dry?
A brushed filter is ready at once. A washed filter should air-dry fully, which can take several hours or overnight. Do not refit it while damp.
Why does my dryer still smell after cleaning the filter?
A little dusty smell on first use after cleaning is common as remaining dust burns off. If the smell persists, or smells like burning plastic, stop using the dryer and have it checked.
Do I need to clean the nozzle and attachments too?
Yes, wipe attachments with a damp cloth and remove product build-up from the nozzle, but keep water out of the dryer body itself. Clean attachments help airflow, but they do not replace filter cleaning.
Bottom line
Unplug, cool, remove, brush, wash only if allowed, dry fully, refit, and test. That routine, done regularly, keeps airflow strong, drying times short, and the motor cool — and it costs nothing but a few minutes.
Related reading: How to Clean a Carpet, How to Remove Oil Stains From Clothes, and the Cleaning category.
Sources: Dyson filter troubleshooting; Dyson Supersonic owner’s guide.